How to Dry Gourds So They Last for Years (It Takes Way Longer Than You Think)
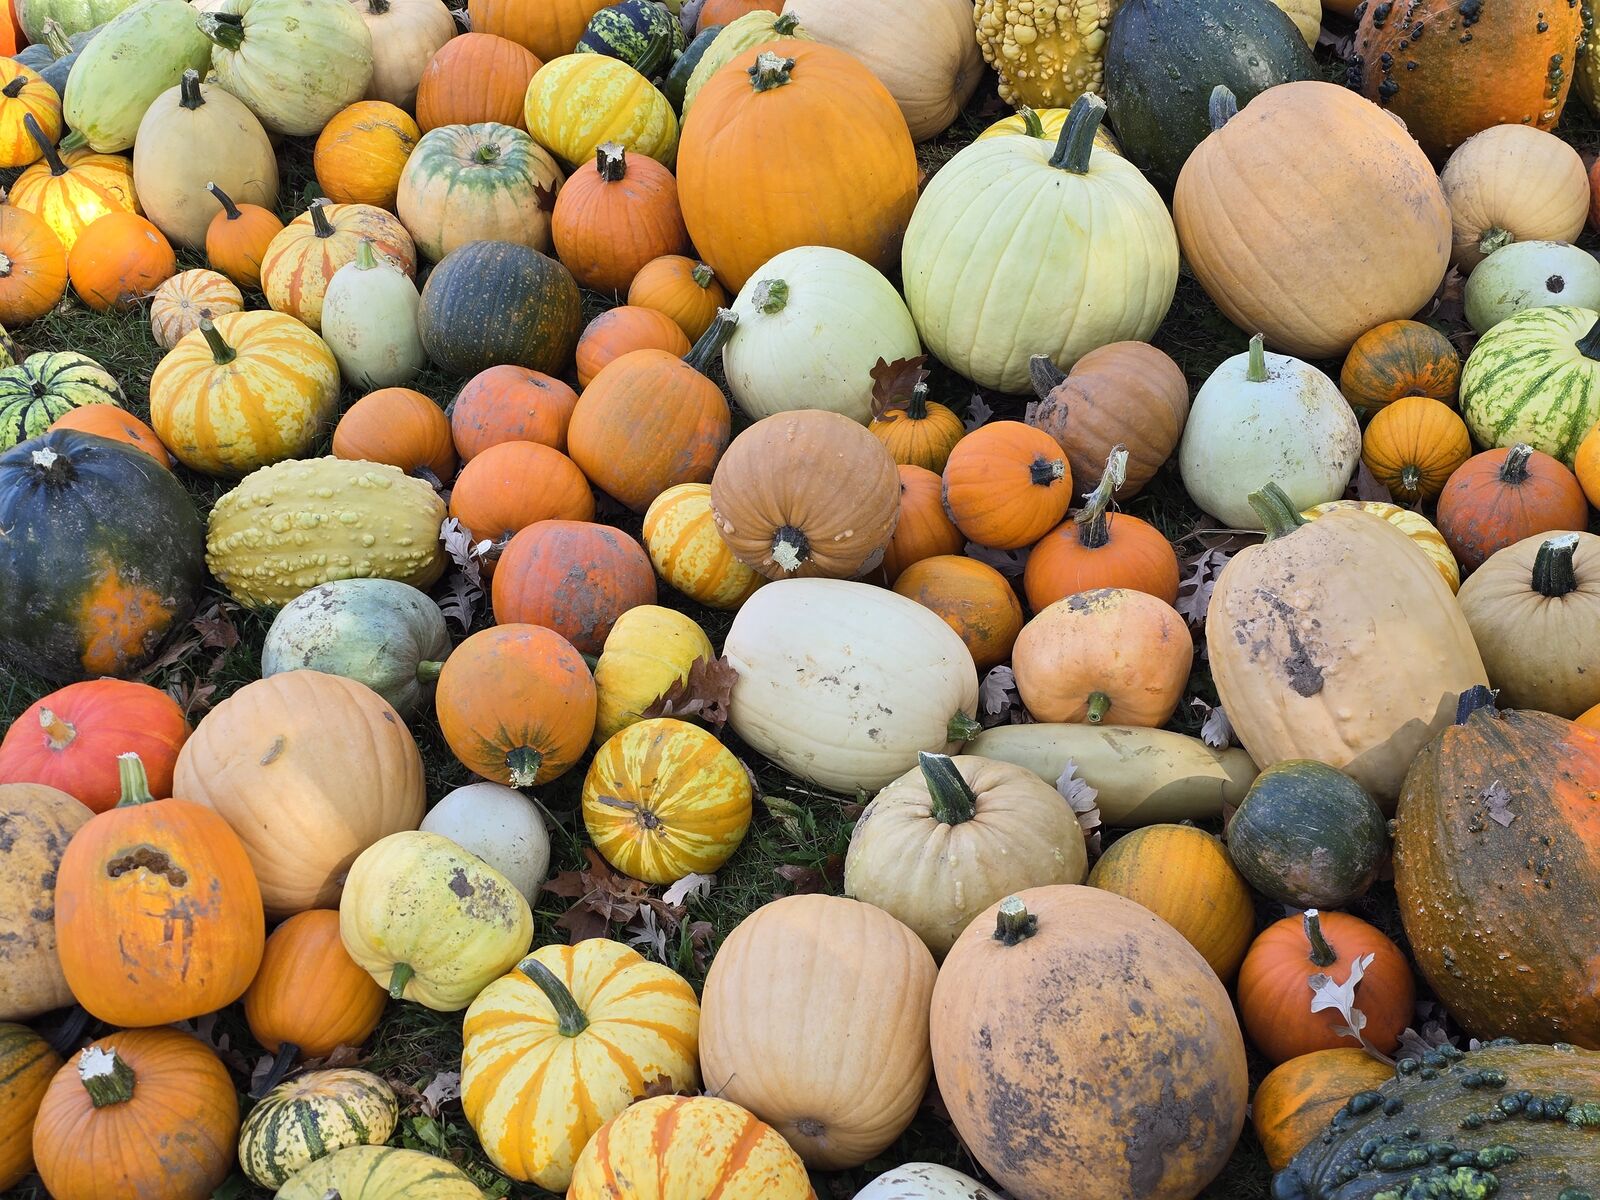
Every October somebody buys an armload of our knobby, striped, warty gourds, puts them in a bowl, and genuinely intends to keep them forever.
Three weeks later there’s a spot of fuzzy white mold on one and the whole bowl goes in the trash.
Here’s what actually happened: that gourd was drying correctly. You threw out a project at the halfway point. Dried properly, a hard-shell gourd lasts years — it becomes a thing like wood, and people make birdhouses and bowls out of them. But the process takes months, not days, and almost nobody is told that.
The test that tells you it’s done
Pick it up and shake it.
A fully dried gourd is startlingly light — it feels wrong in your hand, like a stage prop — and the seeds rattle around loose inside. That’s it. That’s the whole test. Light plus rattle equals done.
Until it rattles, it isn’t finished, no matter how long it’s been sitting there or how dry the outside looks. The skin hardens and the color sets in the first week or two. The inside takes several weeks more. Total time runs weeks to months depending on size, and a big thick-walled gourd can take most of a winter.
Which is why you need to start now and forget about it until February.
Wash them first, and not just with water
The gourds came off a vine in a field. They have soil organisms on them, and those organisms are what turn a curing gourd into a rotting gourd.
Wash in warm soapy water. Then rinse in a solution of one part household disinfectant to ten parts water. Dry each one gently with a soft cloth — don’t scrub, because a scratch in the skin is an opening.
This five-minute step is the difference between a shelf of finished gourds and a shelf of compost. Skip it and you’re gambling.
Where they go
Warm. Dark. Airy. Not touching.
- Warm speeds the drying.
- Dark keeps the color from bleaching out.
- Airy is the one that matters most — air has to move around all sides or you get soft spots where the gourd sits.
- Not touching because if one goes bad it takes its neighbors with it.
A closet floor works. A heated basement works. A spare shelf in a back room works. Lay them in a single layer on newspaper and turn them every few days. Swap the newspaper when it feels damp.
One trick worth doing: poke a small hole in the blossom end — the end opposite the stem — with a nail or an ice pick. It gives the moisture inside somewhere to go and shortens the whole process noticeably. On a big gourd you’ll get liquid seeping out for the first few days. Put something under it.
The mold everyone panics about
Surface mold during curing is normal.
I want to say that twice, because this is where every first-timer quits. A curing gourd pushes moisture out through its skin, and mold grows on that moisture. It looks alarming and splotchy and it is, in most cases, completely fine. Wipe it with a dry cloth, improve the air flow, carry on.
What is not fine: soft spots. Press gently. If a gourd gives under your thumb, or it shrivels instead of hardening, it’s rotting rather than drying, and it needs to leave the room immediately — a rotting gourd will spread to the healthy ones.
The usual culprit is a gourd that was picked before it was mature. Ripe ones have a hard skin and a brown, dried stem at harvest. Green stem means it came off too soon.
Expect them to go beige
This is the disappointment nobody warns you about, so I will.
Most gourds lose their bright colors as they dry. That gorgeous orange-and-green striped thing will come out of the closet in February looking like a tan potato. It’s dry, it’s sound, it’s permanent — and it’s beige.
That’s not a failure. It’s the raw material. Dried gourds get painted, stained, wood-burned, sanded smooth with steel wool, waxed, or shellacked, and the reason people do all that is precisely because the natural color is gone. If you want the stripes, enjoy them on the table this October and accept that the October version and the forever version are two different objects.
What a Wisconsin gourd can and can’t do
Worth knowing before you plan something ambitious: gourds grown up here have thinner, more fragile shells than the ones grown in the southwest. Longer season, hotter sun, thicker walls down there.
So a northern-grown gourd makes a beautiful ornament, a small bowl, a painted piece, a birdhouse. It is not the right material for something you intend to carve deeply or drop. Know what you’ve got.
And the small, hard, warty ornamental gourds — the ones everybody grabs by the handful — are often the best candidates, because they’re small enough to dry in a reasonable time and tough enough to handle.
Then what
Once it rattles: sand it with steel wool or fine paper to take the skin down to the hard shell underneath. It’ll look and feel like a piece of wood, because at that point it basically is.
From there it’s whatever you want. A birdhouse takes a hole saw and ten minutes. A bowl takes a cut and sanding. Wax or shellac gives you a hard glossy finish that’ll sit on a shelf for a decade.
Start five of them this month. You’ll lose one or two to rot, that’s normal, and by spring you’ll have three gourds that outlive every other decoration you bought this fall.
Our Picks

A wire drying rack or stackable mesh shelf
Air on all sides is the whole game, and mesh gets you that without turning the gourds twice as often. One shelf holds a season’s worth.
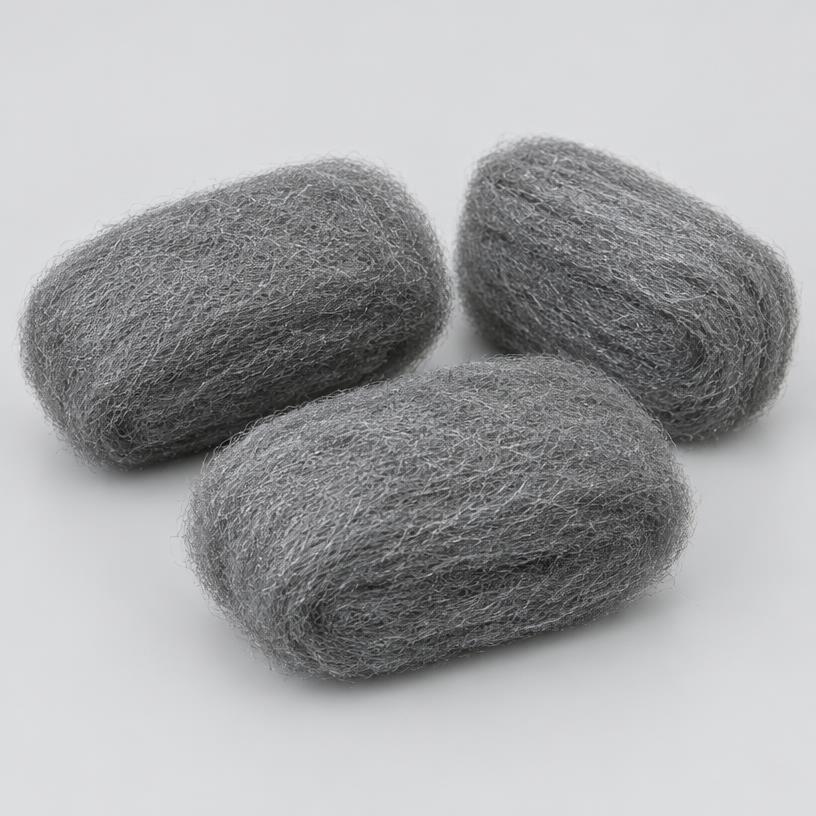
Fine steel wool, assorted grades
For taking the dried skin down to the shell. Coarse to start, fine to finish. This is the step where a tan potato turns into something that looks made.
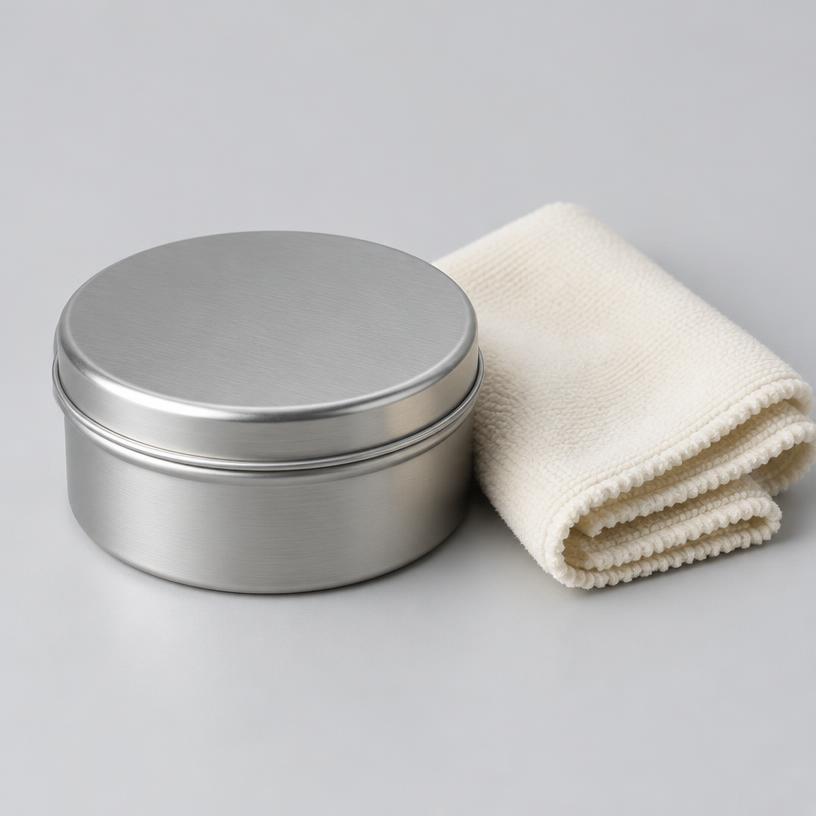
Clear shellac or paste wax
Shellac for glossy and hard, wax for a softer satin. Either one seals the finished gourd so it survives being handled.
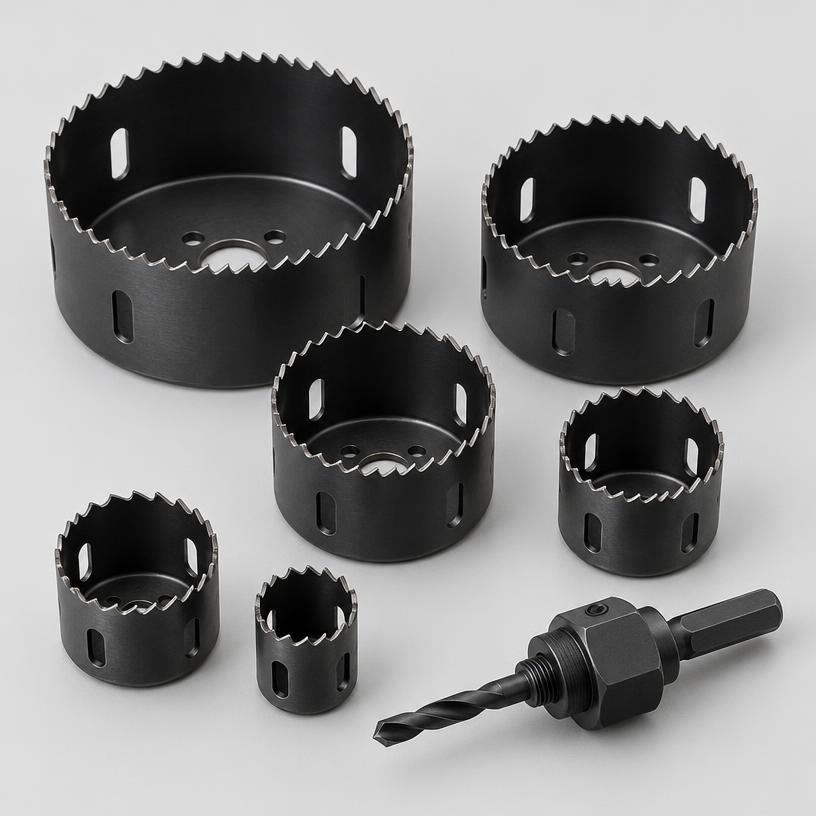
A hole saw set
If a birdhouse is where this is going, this is the only specialty tool you need, and it takes about ten minutes once the gourd is dry.
As an Amazon Associate we earn from qualifying purchases — at no extra cost to you.